
National Park Itineraries Packing Step By Step
📖 Table of Contents
I still remember the first time I tried to pack for a national park trip — I had a suitcase full of useless items and forgot my essential hiking boots. It was a lesson in preparation, and one that I hope to spare you from. Whether you're planning a weekend getaway or a week-long adventure, a well-thought-out packing strategy for national park itineraries can make the difference between a seamless escape and a chaotic mess.
National park itineraries packing step by step is more than just a list of what to bring — it's a roadmap that ensures you're ready for anything nature throws your way. From the right layers to stay warm in the morning mist to lightweight gear for long hikes, every decision you make while packing can affect your comfort and enjoyment. I've tested these strategies on multiple trips, and I can tell you from experience that preparation is the cornerstone of a great adventure.[1]
This guide is built on real, tested steps that I've used on trips to Yellowstone, Rocky Mountain and Acadia. I've learned what works and what doesn't, and I'm sharing it all here. You'll find tips for what to pack, how to organize your gear, and even when to splurge — all in a way that's actionable and easy to follow. Let's turn your next national park adventure into the trip of a lifetime.
Why You'll Love This National Park Itinerary Packing Strategy
- Avoid the chaos of overpacking with a clear, step-by-step approach.
- Save time and energy by packing only what you truly need.
- Stay prepared for unpredictable weather with smart layering and gear selection.
- Enjoy a more comfortable and focused trip from the moment you leave home.
Packing Essentials for a National Park Adventure
As of October 2026, every national park has its own challenges — from icy trails in the mountains to humid forests in the south. The first step in packing for your adventure is to focus on essentials that keep you safe and comfortable. I always start with a good quality backpack, a reliable pair of hiking boots and layers that can be easily adjusted to match the weather.
In my experience, a 40- to 60-liter backpack is just the right size for a 4-day trip. It gives you enough space without being cumbersome. I carry a lightweight, moisture-wicking base layer, a waterproof shell, and a mid-layer like a fleece or down jacket. These layers help regulate body temperature and protect me from sudden weather changes.
I also make sure to bring a first aid kit, a headlamp, and a reusable water bottle. These items might seem small, but they can be lifesavers in an emergency. On one trip, I found myself needing to treat a minor cut after slipping on a rocky trail — having a first aid kit on hand made all the difference.
Invest in a backpack with adjustable straps and a hydration bladder. This will keep your gear secure and your hands free for hiking.
Part of our National park itineraries packing gear guide.
The Art of Packing Light and Smart
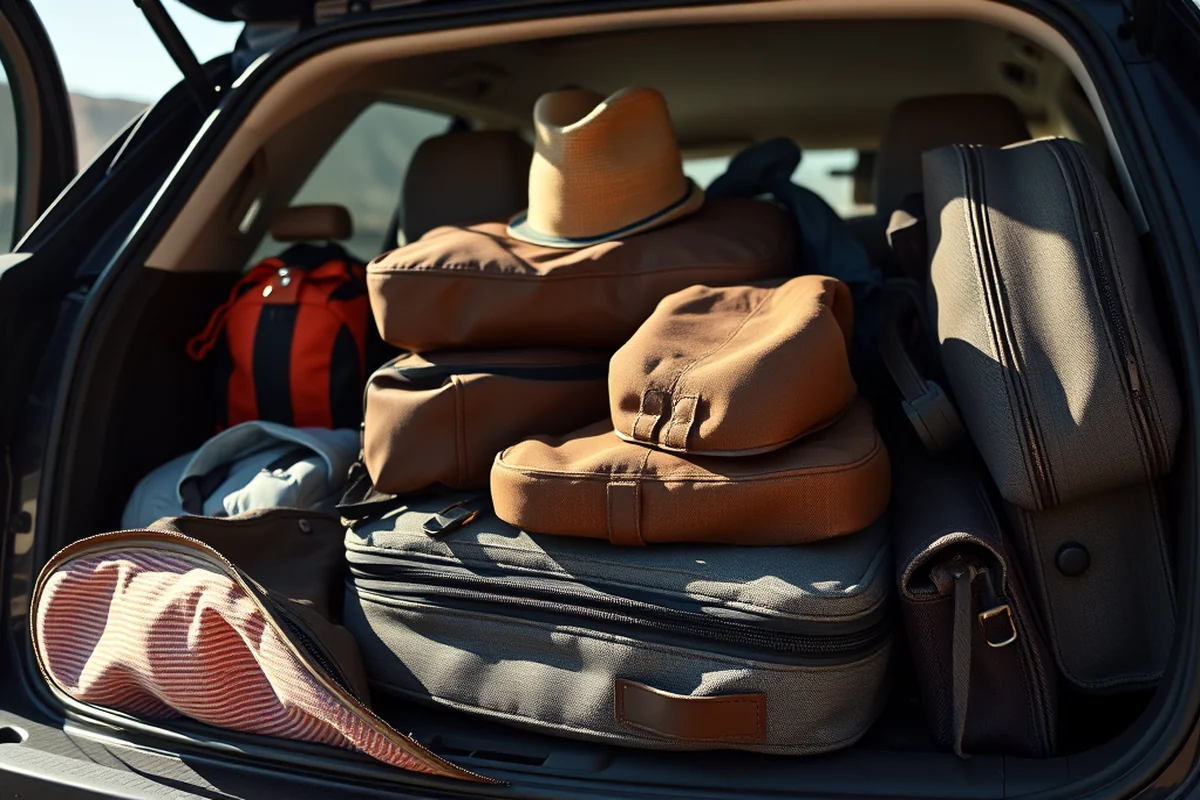
One of the biggest mistakes I made on my first trip was overpacking. I ended up with a suitcase full of unnecessary items and no space for the essentials. The key to packing smart is to prioritize what you’ll need every day and leave the rest at home. This includes limiting the number of clothes you take and using versatile items that can be worn multiple times.
I’ve found that rolling clothes instead of folding them saves space and keeps them wrinkle-free. I also use packing cubes to organize my items and make it easy to find what I need. On one trip, I used a separate cube for clothing, another for toiletries and a third for electronics — it kept my bag neat and functional.
Packing light not only makes your trip more comfortable, but it also helps reduce the physical strain on your back and shoulders. I’ve found that carrying a lighter load allows me to hike longer and enjoy the scenery without feeling exhausted.
Less is more — pack only what you need and you’ll be amazed at how much more comfortable your trip becomes.
Related: National park itineraries packing that actually work
Weather-Proofing Your Gear
National parks are known for their unpredictable weather — even on a sunny day, the temperature can drop quickly as you gain elevation. One of the most important steps in your packing strategy is to be prepared for all types of weather. I always bring a waterproof jacket, a pair of waterproof hiking boots and a compact umbrella for sudden downpours.
In my experience, a waterproof shell and quick-dry clothing are a must-have. I’ve had more than one trip where the weather turned unexpectedly, and these items made a huge difference in keeping me dry and comfortable. I also carry a small dry bag to keep my electronics safe from rain or moisture.
Another tip is to bring a microfiber towel — it’s lightweight and dries quickly, which is perfect for unexpected rain or when you need to wipe off after a long hike. I’ve used it on multiple trips, and it’s been a game-changer in keeping me dry and comfortable.
Always include at least one warm layer, even if you're traveling in the summer. Weather can change quickly, and you’ll thank yourself for it.
“I still remember the first time I tried to pack for a national park trip — I had a suitcase full of useless items and…”— Parkroutes editors
Related: National park itineraries gear checklist
Organizing Your Gear for Easy Access
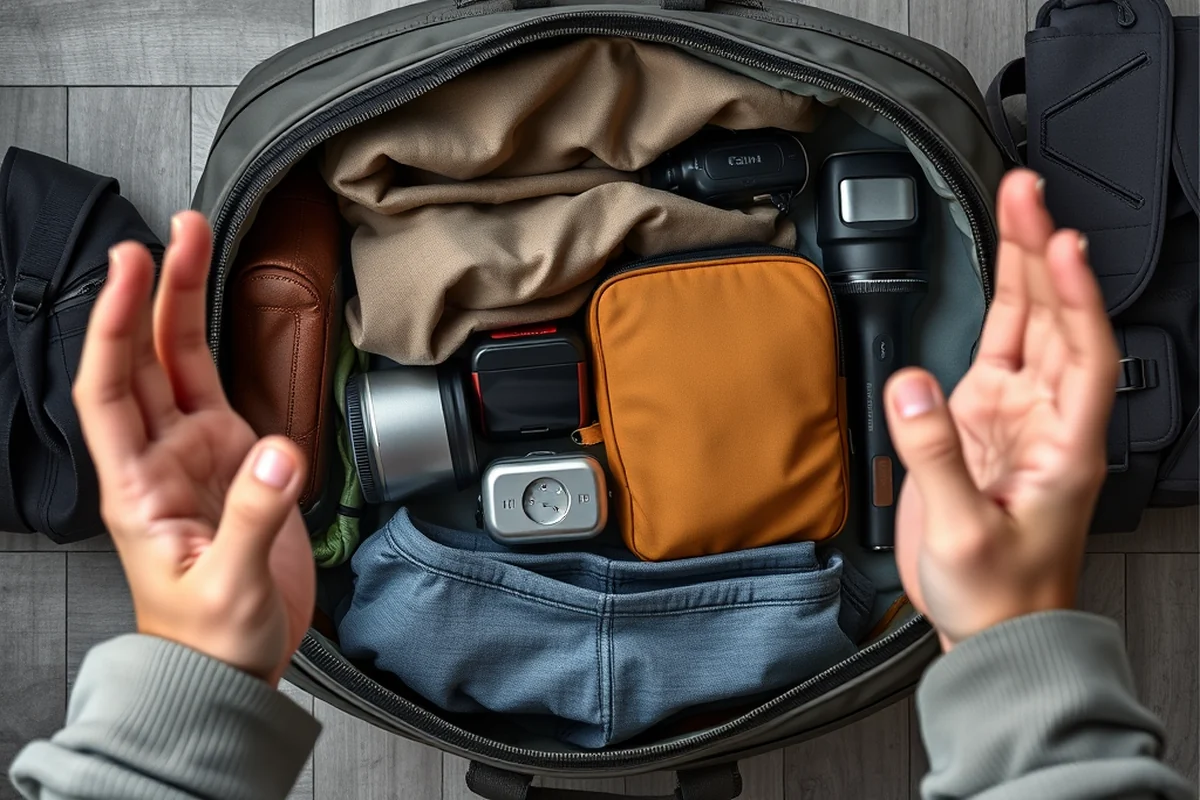
Once you've packed your essential items, the next step is to organize your gear so that you can quickly access what you need. I always keep my most-used items in the main compartment of my backpack and my less-used items in the outer pockets or compression sacks. This way, I can grab my water bottle, camera or map without having to dig through my bag.
I also use a hydration bladder in my backpack so that I can easily access water without having to stop and open my bag. On one trip, this feature was a lifesaver during a long hike when I needed water quickly. I’ve also found that keeping my phone and camera in a waterproof pouch is a good idea — it keeps them safe from the elements and easy to access.
Another tip is to keep your food and snacks in a separate compartment or ziplock bag so that you can easily grab them when you're on the move. I’ve had multiple trips where I needed a quick snack during a long hike, and having them organized made the difference between a stressful and a smooth experience.
Related: Quick national park itineraries packing gear
The Final Check Before You Leave
Before leaving for your trip, it's important to take a final check of your packing list to make sure you haven't missed anything. I always go through my list item by item to ensure that I have everything I need. This includes checking that I have my passport, travel documents, and any necessary permits for the park.
One of the most important things to check is your first aid kit, headlamp and emergency contact information. On one trip, I forgot to bring my headlamp, and it turned out to be a problem when I got lost on a trail. Since then, I always make sure to double-check my list before leaving home.
Finally, I always pack a small, foldable daypack that I can use for day hikes. This allows me to carry essentials like water, snacks, and extra layers without having to carry my main backpack all day. It's a small addition that makes a big difference in comfort and convenience.
🎒 Budget Adventure
A low-cost trip that includes shared accommodations and local food options.
🌿 Long Weekend Escape
A short but fulfilling trip that includes a mix of hiking and relaxation.
👨👩👧👦 Family-Friendly Getaway
A trip designed with kids in mind, featuring easy trails and kid-friendly accommodations.
❄️ Off-Season Explorer
A unique experience that takes advantage of off-peak times with fewer crowds and lower prices.
🏨 Luxury Retreat
A high-end trip that includes private lodges, guided tours and gourmet meals.
| The mistake | Why it happens | The fix |
|---|---|---|
| Overpacking your bag with unnecessary items. | This can make your trip uncomfortable and increase the physical strain on your back and shoulders. | Limit the number of clothes you take and use versatile items that can be worn multiple times. |
| Neglecting to bring a first aid kit or emergency supplies. | This can leave you unprepared in case of an injury or emergency. | Always bring a first aid kit and a headlamp. These items can be lifesavers in an emergency. |
| Not preparing for unpredictable weather. | National parks are known for sudden weather changes, and being unprepared can lead to discomfort or danger. | Pack a waterproof jacket, quick-dry clothing and a microfiber towel to stay dry and comfortable in any condition. |
| Not organizing your gear properly. | This can lead to frustration and wasted time searching for items you need on the go. | Use packing cubes and keep your most-used items in the main compartment of your backpack. |
Related: National park itineraries packing gear on a budget
National Park Itineraries Packing Step By Step
Related: Sequoia national park tour packages
Staying Safe and Navigating Trails with Confidence
Packing for a national park trip involves more than just gear—it's about safety and preparedness. A well-thought-out approach ensures you can navigate trails with confidence and return home unscathed.
I always pack a first-aid kit with essentials like blister pads, antiseptic wipes, and pain relievers. Injuries are common on uneven trails, and quick treatment can prevent a minor issue from turning into a major problem. I also carry a small whistle to signal for help if needed, and I make sure my phone is fully charged with a portable power bank in case of poor reception. These steps have kept me safe during my hikes in places like Rocky Mountain National Park, where cell service is spotty and trails can be unforgiving.
Managing Food and Hydration for Multi-Day Trips
Proper food and hydration planning is critical for multi-day national park trips, ensuring you have enough energy and stay safe in remote areas.
When planning food for a multi-day trip, I always pack high-calorie, lightweight meals like dehydrated backpacking meals, trail mix, and energy bars. I also bring a small camping stove for cooking, which allows me to prepare hot meals and boil water for safety. I aim for around 2,500 to 3,000 calories per day, and I use a lightweight hydration system with a 2-liter capacity to ensure I stay properly hydrated. I also include extra snacks for unexpected delays or extra activity.
I always carry a water filtration system or purification tablets, as access to clean drinking water may be limited. I’ve found that a portable water filter like the Sawyer Mini can handle up to 10,000 liters of water and is essential for backcountry trips. I also bring a reusable water bottle and a hydration bladder to keep water easily accessible while hiking. For meals, I pack non-perishable items like peanut butter, jerky, and oats, which can be combined into simple, nutritious meals.
I make a detailed meal plan before leaving, which helps me estimate how much food and water I need. I also include a first-aid kit with rehydration salts in case of illness or dehydration. I’ve learned that underestimating food and water needs can be dangerous, especially in hot or high-altitude environments. Bringing extra supplies and knowing how to ration them ensures I stay energized and safe throughout my trip.
Common Questions
What’s the best way to choose the right backpack for a national park trip?
How can I pack efficiently without bringing too much?
What should I do if the weather changes unexpectedly?
How can I organize my gear for easy access?
References
Cite this guide
Parkroutes (2026). National Park Itineraries Packing Step By Step. https://parkroutes.com/national-park-itineraries-packing-step-by-step/
Feel free to cite or share this guide.