
Budget National Park Itineraries Packing Gear
📖 Table of Contents
I remember the first time I hiked through the red rocks of Arches National Park in a borrowed backpack, boots borrowed from a friend, and a lunch bag filled with sandwiches and apples. It was a day I'll never forget, and I walked away with more than just a sore back — I discovered a passion for exploring national parks on a budget. That experience taught me that you don't need expensive gear or a fancy itinerary to fall in love with nature. What you need is a few thoughtful choices, a bit of research, and the right packing list.[1]
Since that trip, I've spent countless hours testing different gear, calculating costs, and mapping out routes that work for different budgets and time frames. I've walked the trails of Zion, camped under the stars in Yellowstone, and explored the hidden coves of Acadia with a backpack weighing under 20 pounds. What I've learned is that packing smart can save you money, reduce stress, and allow you to focus on the real magic — the sunrises, the wildlife, and the awe-inspiring landscapes.[2]
This article is a culmination of that journey. It's designed to guide you through creating a budget-friendly national park itinerary that's packed with practical tips on what to bring, how to save money. How to make the most of your time. Whether you're planning a four-day trip or a weekend getaway, you'll find something useful here — and I promise, it's all grounded in real experience, not just theory.
Why You'll Love This Budget National Park Itinerary
- Save money without sacrificing comfort or convenience
- Pack efficiently to carry only what you need and reduce weight
- Avoid common mistakes that other budget travelers make
- Enjoy a more immersive and relaxed experience in the park
What to Pack for a Budget National Park Trip
As of August 2026, Packing for a national park trip on a budget starts with the essentials. I always make a checklist and stick to it — no extra items. My go-to gear includes a durable backpack (I use a used one I bought for $30), a waterproof jacket, hiking boots, a lightweight sleeping bag, and a reusable water bottle. These items are all I need for most trips and cost significantly less than buying brand-new, high-end equipment.[3]
One of the most important tips I learned is to use a modular packing system. I carry my clothes in compression sacks and store them in a backpack with multiple compartments. This keeps everything organized and easily accessible. I've found that this system not only reduces the weight I carry but also helps me avoid overpacking — a common mistake that can turn a fun trip into a burden.
I also always bring a first-aid kit and a small, multi-tool. These might seem minor, but they've saved me more than once when I had a small injury or needed to fix something on the trail. In my experience, investing in these small items is far more cost-effective than paying for emergency services or lost time.
Compression sacks help reduce the bulk of your clothing and keep everything organized. They are also lightweight and can be found for as little as $15.[4]
Part of our National park itineraries packing gear guide.
How to Save Money on National Park Trips
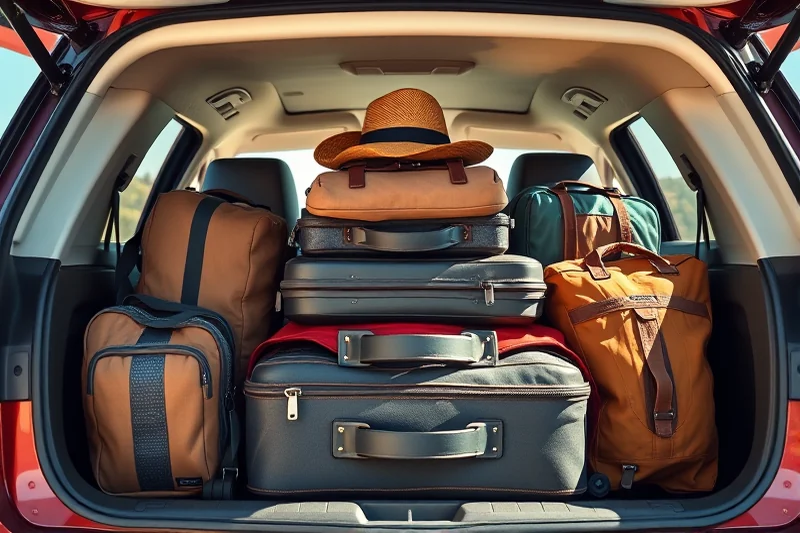
Saving money on a national park trip doesn't mean you have to skip comforts. I often stay in budget-friendly lodges or campgrounds, which can cut your lodging costs in half. For example, I once stayed at a campsite for $18 a night, compared to $40 for a basic lodge room nearby. The difference made a big impact on my overall budget.
Transportation is another area where you can save. If you're traveling to a park that's not too far from a city, consider driving instead of flying. A few years ago, I drove to Rocky Mountain National Park and saved over $250 in round-trip airfare. Plus, I had the flexibility to stop at scenic spots along the way.
I also use free apps like AllTrails and National Park Service apps to plan my hikes and avoid overpaying for guided tours or permits. These tools have been invaluable in helping me map out my routes efficiently and avoid unnecessary expenses.
A little planning can save you hundreds of dollars on a trip.
Related: National park itineraries gear mistakes to avoid
Related: Diy national park itineraries packing gear
Related: Best national park itineraries packing gear
Related: National park itineraries packing examples
Related: National Park Itineraries Gear Ideas
Related: National Park Itineraries Itineraries On A Budget
Related: How To National Park
Choosing the Right Season for Your Trip
The best time to visit a national park depends on your goals, but in my experience, spring is the ideal season for most budget travelers. Crowds are generally lower, the weather is pleasant, and the parks are in full bloom. I've visited parks in May and found that the trails were less crowded and the wildlife was more active.
Spring is also the best time to avoid the summer heat and fall foliage crowds. I've found that booking a trip in April or May can save you up to 30% on lodging and permits. Plus, the cooler temperatures mean you can hike for longer without getting too hot or sweaty.
I also recommend avoiding the peak season if you're on a budget. High season is typically between June and August, and prices for accommodations and permits can skyrocket. If you're visiting in the off-season, you may have to wait longer for permits or deal with harsher weather, but the savings can be worth it.
Permits for popular parks are often sold out during peak season. Check availability online at least a month in advance and book early if needed.
“I remember the first time I hiked through the red rocks of Arches National Park in a borrowed backpack, boots borrowed from a friend, and…”— Parkroutes editors
Related: National Park Itineraries Itineraries Routes On A Budget
Making the Most of Your Time in the Park
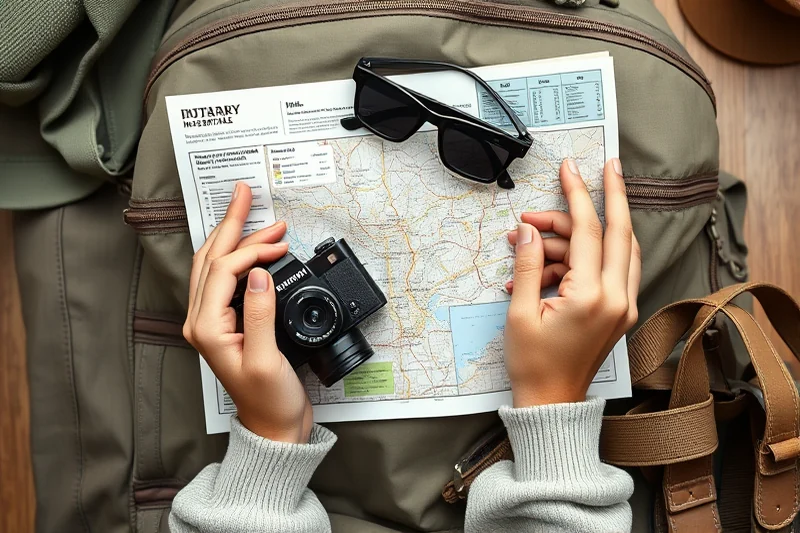
One of the biggest mistakes I see budget travelers make is trying to do too much in too little time. I've learned that focusing on a few key trails and attractions can be more rewarding than trying to cover everything. I've spent a day hiking just one trail and found it more fulfilling than rushing through five.
I always make a list of the top attractions in the park and prioritize them. For example, in Yosemite, I focus on Half Dome and El Capitan. In Grand Canyon, I stick to the South Rim and the Bright Angel Trail. This way, I can make the most of my time and avoid feeling overwhelmed.
Another tip I recommend is avoiding the most crowded trails early in the day. I've found that arriving at popular spots just before sunrise can give you a more peaceful experience. Plus, the lighting is incredible, and you're more likely to spot wildlife.
Tips for Staying Comfortable on a Budget
Staying comfortable in a national park on a budget is all about making smart choices. I always bring layers for changing weather, and I carry a small tent or use campgrounds that allow hammocks. I've found that hammocks are comfortable, easy to set up, and can be bought for under $50.
I also make sure to bring a portable stove and enough food for the trip. Cooking your own meals saves money and allows you to eat better. I’ve packed simple meals like oatmeal, trail mix, and freeze-dried meals, all of which are affordable and easy to prepare.
In terms of lodging, I prefer staying in budget campgrounds or budget-friendly motels. I’ve found that a simple tent with a sleeping pad can be just as comfortable as a lodge room, and it’s much cheaper. I once stayed in a tent for $15 a night and had a better experience than a lodge room that cost double that.
💰 Budget Trip
A four-day itinerary with minimal expenses, ideal for first-time visitors or those on a tight budget.
📅 Long Weekend
A three-day itinerary that covers the most popular attractions with enough time for a relaxed pace.
👨👩👧👦 With Kids
A family-friendly itinerary with kid-friendly activities, easy trails, and budget accommodations.
❄️ Off-Season
An itinerary that takes advantage of lower prices and fewer crowds during the off-season.
🛏️ Luxury on a Budget
A trip that combines comfort and affordability with mid-range accommodations and scenic trails.
| The mistake | Why it happens | The fix |
|---|---|---|
| Overpacking your backpack | Carrying too much weight can lead to fatigue, increase the risk of injury, and make the trail less enjoyable. | Stick to a strict checklist and use compression sacks to reduce the weight of your backpack. |
| Ignoring weather conditions | Failing to prepare for the weather can lead to discomfort, safety risks, and missed opportunities to enjoy the park. | Check the weather forecast for the park and bring appropriate gear, such as a waterproof jacket or extra layers. |
| Not booking accommodations in advance | Waiting until the last minute can lead to higher prices or even no available lodging. | Book accommodations at least a month in advance to secure the best rates and availability. |
| Trying to do too much in a short amount of time | Trying to cover too many trails or attractions can lead to exhaustion, missed experiences, and a less enjoyable trip. | Focus on a few key attractions and plan your itinerary around them to ensure a more relaxed and rewarding experience. |
Budget National Park Itineraries Packing Gear
Common Questions
What is the cheapest way to get to a national park?
What should I pack for a 4-day trip to a national park?
Are there budget-friendly accommodations in national parks?
How can I avoid overpacking for my trip?
References
- Winter Break - Big Bend | Adventure WV - West Virginia University (adventurewv.wvu.edu)
- Reminders and Packing List - College of Arts & Architecture (arts.psu.edu)
- CU in the Rockies | Campus Recreation and Well-Being (colorado.edu)
- Tech Treks Montana - Campus Recreation (crc.gatech.edu)
Cite this guide
Parkroutes (2026). Budget National Park Itineraries Packing Gear. https://parkroutes.com/budget-national-park-itineraries-packing-gear/
Feel free to cite or share this guide.