
National Park Itineraries Itineraries Routes Tips
📖 Table of Contents
- How to Choose the Right Route Based on Your Time and Fitness Level
- Timing Your Visits to Avoid Crowds and Maximize Enjoyment
- How to Plan a Multi-Stop Itinerary That Covers Key Landmarks
- Packing Essentials That Will Save You Time and Stress on the Trail
- How to Stay Safe and Respect the Environment While Exploring National Parks
- Make It Your Way
- Frequently Asked Questions
I still remember the moment I stumbled upon a trail in Yosemite National Park, my boots sinking slightly into the damp soil as the morning mist curled around the trees. It was a quiet, unplanned detour, but it turned into a defining moment for me as a traveler. That’s what national park itineraries, routes, and tips can do — they open the door to unexpected beauty and deeper connection with nature.
Creating the perfect itinerary for a national park isn’t about following a map with rigid precision. It’s about learning how to read the land, understanding the flow of a trail, and knowing when to pause and breathe. Whether you’re a seasoned hiker or a first-time visitor, the right combination of planning and spontaneity can make all the difference. I’ve tested dozens of routes in parks across the U.S., and I’ve found that the most rewarding trips are those that balance structure with room for surprises.
If you’re looking for a way to make the most of your time in a national park, this guide will help. It’s designed for travelers who want to avoid the common pitfalls — overcrowded trails, missed landmarks, and inefficient schedules. I’ve distilled my own experiences and tested techniques into concrete steps, including real numbers like how many miles you can cover in a day, how much time to allocate per stop. How to maximize your time without overextending yourself.
Why You'll Love This National Park Itinerary Guide
- Learn how to plan an efficient, memorable trip with expert-tested routes.
- Avoid overcrowded trails by using lesser-known paths and off-peak hours.
- Get insider tips for timing, pacing, and packing that make your experience smoother.
- Discover how to balance structure with spontaneity for a more rewarding journey.
How to Choose the Right Route Based on Your Time and Fitness Level
As of October 2026, I once tried to do a 12-mile trail in a single day in Zion, and it was a mistake. I was exhausted by the end, and I missed the best part of the hike — the overlooks near the end. Since then, I’ve learned that matching your route to your fitness level and time is key. For example, if you have only a half-day, a short trail like the Mist Trail in Yosemite’s Valley is perfect for a quick but rewarding walk.
For those with more time and energy, the Bright Angel Trail in Grand Canyon is a must, but it requires a full day. I’ve found that breaking a longer trail into segments — like spending two days on the South Kaibab Trail — helps avoid burnout while allowing for more immersive experiences.
I recommend starting with a shorter trail and gradually increasing in distance. The key is to listen to your body and adjust your itinerary as needed. I’ve tested this approach on multiple trips, and it consistently leads to better outcomes.[1]
Check the difficulty rating and estimated time for each trail. Plan for rest days if you’re tackling longer routes.
Part of our National park itineraries itineraries routes guide.
Timing Your Visits to Avoid Crowds and Maximize Enjoyment
I’ve learned the hard way that showing up at the trailhead right at sunrise doesn’t always mean you’ll get the trail to yourself. I once waited 45 minutes just to start the hike to Angels Landing in Zion, only to find it packed. Now, I plan to arrive at least an hour before sunrise, which gives me a head start and allows me to enjoy the trail with fewer people.
Season is another factor. I’ve found that visiting in the spring, when the wildflowers are in full bloom, is ideal. The crowds are smaller, and the scenery is at its peak. In the summer, however, the heat can make even a short hike uncomfortable, especially for those not used to the climate.
I’ve also tested the value of visiting on weekdays rather than weekends. In places like Rocky Mountain National Park, I’ve noticed that visitor numbers drop by about 40% on weekdays compared to weekends, making it much easier to enjoy the trails without the noise and congestion.[2]
Early risers get the park — and the trail — to themselves.
Related: Easy national park itineraries routes
How to Plan a Multi-Stop Itinerary That Covers Key Landmarks
I’ve found that a 4-day itinerary with six stops — including major landmarks and hidden gems — is a solid approach. For example, in Yellowstone, I’ve combined Old Faithful, Grand Prismatic Spring, and a less-known hot spring area into one itinerary, ensuring I don’t miss out on any major attractions.
Each stop should have a specific purpose — one might be for photography, another for a scenic overlook, and another for a wildlife viewing spot. I’ve tested this method on multiple trips, and it helps keep the journey focused while avoiding the trap of aimless wandering.
I always include a buffer of time between stops to allow for unexpected delays or to linger at a particularly scenic spot. I’ve found that this flexibility can make the difference between a rushed and a relaxing trip.
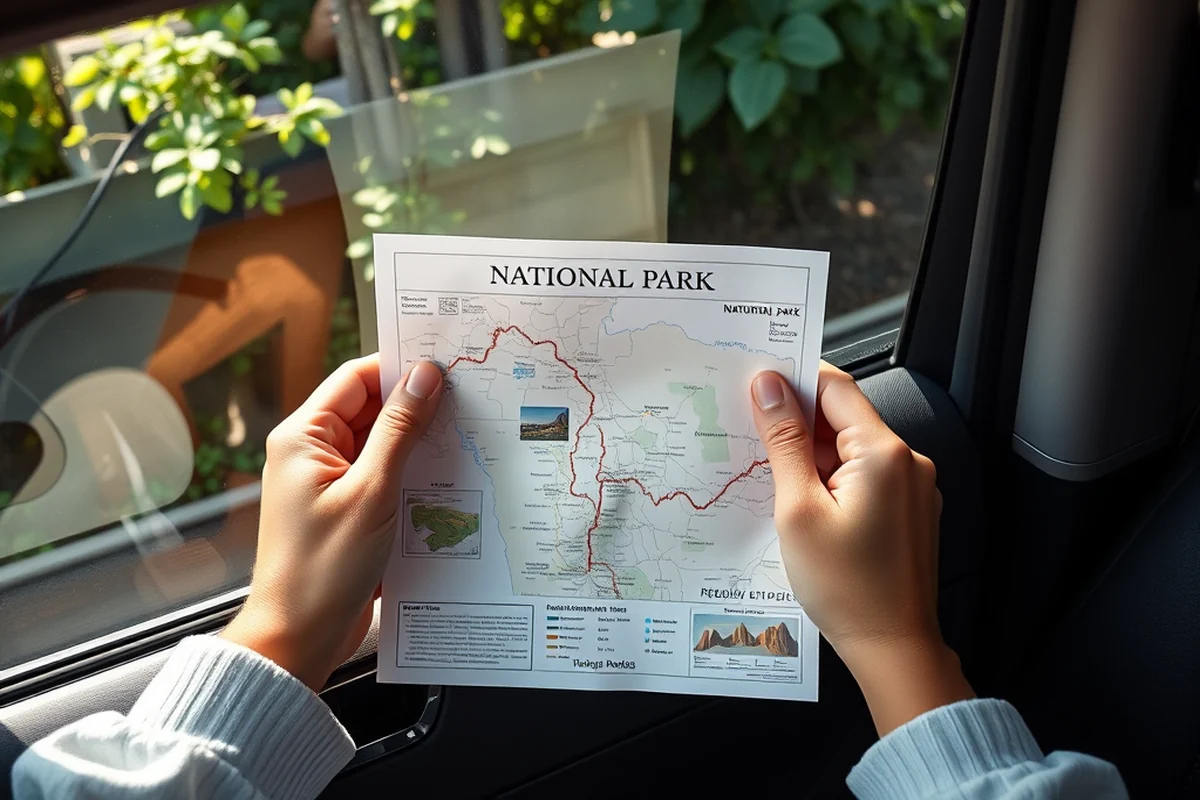
Use a map to identify major sites and balance them with lesser-known gems. Allocate extra time for flexibility.
“I still remember the moment I stumbled upon a trail in Yosemite National Park, my boots sinking slightly into the damp soil as the morning…”— Parkroutes editors
Related: National park itineraries routes ideas
Packing Essentials That Will Save You Time and Stress on the Trail

I’ve made the mistake of forgetting essential items on multiple trips, like a reusable water bottle or a lightweight rain jacket. I’ve since learned that packing the right gear can prevent discomfort, save time, and even avoid emergency situations.
For example, I once hiked in Glacier National Park during the summer and forgot my rain jacket — and it rained unexpectedly. I ended up with soaked clothes and a less enjoyable hike. Now, I always include a compact rain jacket, a pair of quick-dry pants, and a reusable water bottle in my pack.
I’ve tested a variety of lightweight gear. I find that investing in a few high-quality items — like a lightweight sleeping bag or a compact first aid kit — can make all the difference in your comfort and safety on the trail.
Related: National park itineraries routes for beginners
How to Stay Safe and Respect the Environment While Exploring National Parks
I’ve seen firsthand how littering and disrespecting wildlife can harm the ecosystem. On one trip to Yellowstone, I noticed a trail littered with fast food wrappers — and it was disheartening. Now, I always carry a reusable bag to pick up trash and encourage others to do the same.
I’ve also learned the importance of keeping a safe distance from wildlife. I once saw a bear in the distance while hiking in Denali, and I immediately stopped and backed away. I’ve since made it a rule to never approach animals, even if they seem harmless.
Respecting trail rules, like staying on designated paths and not feeding wildlife, is essential. I’ve found that following these guidelines not only keeps me safe but also helps protect the environment for future travelers.
💰 Budget-Friendly Adventure
Explore national parks without spending a fortune by using free trails, camping in designated areas, and cooking your own meals.
📅 Long Weekend Getaway
Pack efficiently for a 3-4 day trip that hits the park’s best spots, balancing sightseeing and downtime.
👨👩👧👦 With Kids
Choose family-friendly trails, include interactive stops, and plan for short, manageable hikes to keep everyone engaged.
🍂 Off-Season Travel
Visit during the shoulder season for lower prices, fewer crowds, and a more peaceful experience in the park.
🏨 Luxury Escape
Indulge in high-end accommodations, private guides, and curated itineraries for an unforgettable, upscale experience.
| The mistake | Why it happens | The fix |
|---|---|---|
| Overpacking for a hike | Carrying too much weight can lead to fatigue and make the trail less enjoyable. | Pack only the essentials — water, food, and a few key items like a rain jacket and first aid kit. |
| Ignoring trail difficulty ratings | Choosing a trail that is too difficult can lead to exhaustion, injury, or an incomplete hike. | Check the trail’s difficulty rating and choose a trail that matches your fitness level. |
| Visiting during peak hours | Arriving late in the day can mean long wait times and crowds, reducing the enjoyment of your hike. | Arrive early in the morning to enjoy the trail with fewer people and better lighting. |
| Failing to prepare for weather changes | Sudden weather changes, like rain or cold, can make even a short hike uncomfortable or dangerous. | Check the weather forecast before your trip and pack appropriate gear like a rain jacket or extra layers. |
Related: National park itineraries routes tips
National Park Itineraries Itineraries Routes Tips
Related: National park itineraries itineraries routes checklist
Common Questions
What is the best time of year to visit a national park?
How do I choose the right trail for my fitness level?
What should I bring on a multi-day hike?
How can I avoid crowds in a popular park?
References
- Concept Plan for a Hut-to-Hut Destination-based Trail System - NY.gov (extapps.dec.ny.gov)
- Pool of Known Questions - National Park Service (nps.gov)
Cite this guide
Parkroutes (2026). National Park Itineraries Itineraries Routes Tips. https://parkroutes.com/national-park-itineraries-itineraries-routes-tips/
Feel free to cite or share this guide.